Guide
Prepare Audio for TikTok and Reels
Short-form video forgives average visuals more readily than weak audio. If the first second is quiet, slow, or full of dead air, viewers leave. This guide focuses on preparing speech and music beds in Audio Lab so your clips hit fast and stay intelligible on phone speakers.
Design for the first second
Open on energy: a clear first word, a question, a bold claim, or a musical hit. Do not open on a logo sting silence, a long breath, or “Hey guys, so um…” unless that hesitation is the joke. In Trim Audio, place the start handle where the hook actually begins, not where the recording happened to start.
Keep a tiny pre-roll only when chopping the transient makes the first word harder to understand. Otherwise, favor immediacy. The same instinct behind good ringtones applies here—see how to make a ringtone from a song for hook-first thinking—even when the destination is a vertical video.
Watch platform realities: on-screen captions help, but they should not be an excuse for muddy speech. Many people watch without sound at first; when sound is on, it should reward them immediately.
Script cold opens the way advertisers write first frames. Write the first sentence last if you must, then trim the recording to that sentence. Audio Lab cannot invent a hook you never spoke, but it can remove everything that delays the hook you already have.
Trim for pace, not just length
Duration caps matter, but pacing matters more. A 20-second clip with two long pauses can feel longer than a dense 35-second clip. Remove false starts and stall words the way you would clean a voice memo—cut silence from voice memos uses the same muscles—while keeping enough breath that speech still sounds human.
Extract the usable take instead of speeding an entire rambling original unless you truly need tempo help. When you do need tighter delivery without chipmunk artifacts, use Change Speed modestly after trimming. Guidance lives in speed up podcasts without chipmunk voice and how to change audio speed.
For interviews, jump-cut carefully. Aggressive removal of every pause can make speakers sound unnatural beside talking-head video. Match the visual edit: if the picture still shows a thinking moment, leave a little audio space.
Pattern interrupts help. A half-second music sting, a reversed whoosh via Reverse Audio, or a hard cut to a louder line can re-earn attention mid-clip—but only if the surrounding speech remains intelligible. Effects are seasoning; the tip or story is the meal.
- Mark the hook timestamp Find the first second that would stop a scroll if it played alone.
- Extract a tight region Use Trim Audio to keep only the story beat you will show on camera.
- Clean stalls Remove dead air and retakes that do not serve the punchline or tip.
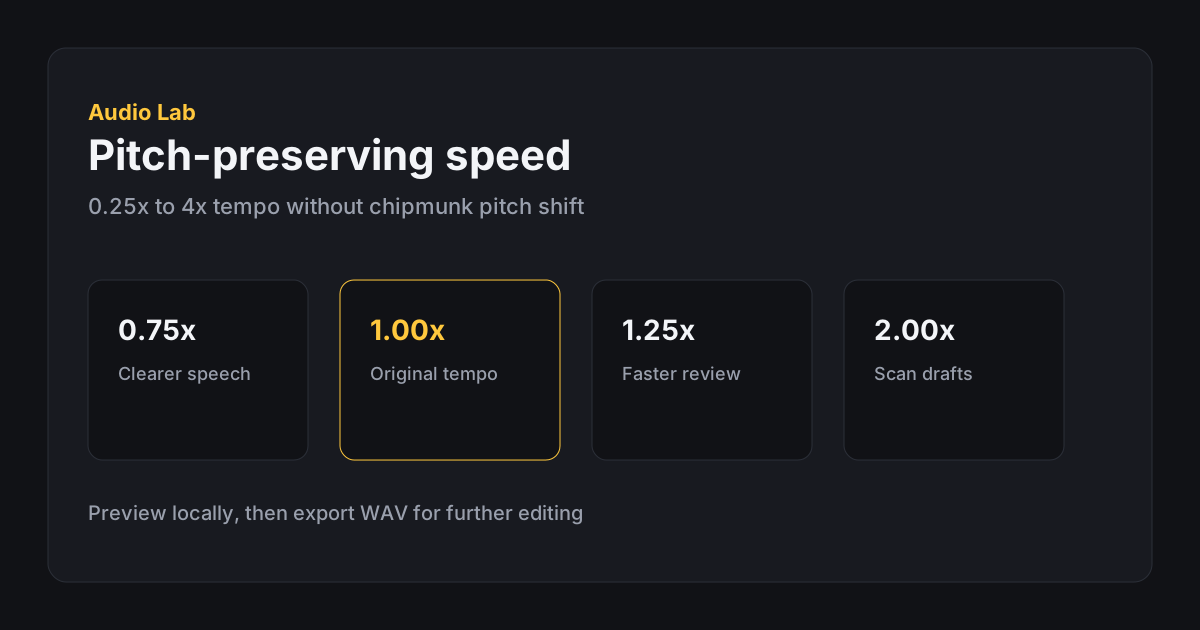
- Optional tempo pass Apply a mild pitch-preserving speed-up if the delivery still feels slow.
- Loudness pass for phones Raise gain carefully so speech reads on small speakers without clipping.
Loudness on phone speakers
Phone speakers are small and distort easily. Use Change Volume to bring speech forward, but preview on a phone if you can. A clip that sounds polite on studio headphones can vanish on a bus; a clip that sounds exciting on earbuds can crackle on tinny built-in speakers.
Music beds under voice need restraint. If you only control a single mono mix, you may need to choose a quieter section of the song or a shorter music sting rather than boosting voice into clipping. For voice-only tips, follow how to increase audio volume.
Avoid crushing everything to maximum peaks just to “win” loudness. Viewer retention cares more about clarity of the first line than about winning a loudness war against the next video.
Captions and loudness interact. If viewers rely on captions because speech is soft, you are leaking retention on sound-on sessions. Aim for a mix where captions are a bonus, not a rescue raft.
Music, copyright, and creative reuse
Platforms provide licensed music libraries for a reason. If you edit a commercial song in Audio Lab for personal drafting, that does not automatically grant posting rights. Use audio you own, audio licensed for social use, or platform-offered tracks when publishing.
For original music or licensed beds, trim to a loopable or intentionally ended region. Hard cuts mid-fill feel amateur on Reels loops. Short fades help—see fade in / fade out explained. Creative reverses can work as transitions if used sparingly via Reverse Audio.
If you record original voiceover, prefer a quiet room and a mic close to the mouth. No editor turns a distant kitchen recording into a studio VO. Editing is enhancement, not alchemy.
Brand accounts should keep an approved music shortlist. Random trending audio can be effective and also risky for ads or partnership posts. Separate “organic draft playground” files from “client-safe publish” files in your export naming.
Export for the video editor path
Most creators place audio into CapCut, Premiere, Final Cut, Descript, or the in-app editor. Export WAV from Audio Lab as the edit-friendly clip, align it to picture, then let the video app handle the final social encode. That avoids stacking mystery compressions before the platform compresses again.
If you must upload audio directly and a compressed format is required, make that derivative once from the WAV master. Review common audio export mistakes and the audio formats guide before you build a habit of re-exporting leftovers.
Keep filenames tied to the video concept: tip-three-hooks-vo.wav beats final-final-2.wav when you iterate thumbnails and captions later.
When posting the same tip across TikTok and Reels, reuse the WAV master and allow each app’s export to differ. Do not bounce platform A’s download into platform B if you still have the clean master—that is how muffled twins get published.
Short-form audio checklist
Ship a repeatable prep pipeline: hook trim, stall removal, optional mild speed, phone-aware loudness, WAV master, video assembly, platform upload. The creators who feel “fast” usually are not skipping steps—they are repeating a short checklist until it is muscle memory.
When a clip underperforms, audit audio before blaming the algorithm: Is the first second immediate? Are words clear on a phone speaker? Is the ending clean enough for replays and loops? Those questions catch problems you can fix in Audio Lab today.
Save a personal “best opener” folder of WAV hooks that worked. Recutting a proven cold open with new visuals is often smarter than recording a weaker new intro from scratch every day.
- Hook begins in the first second
- False starts and dead air removed
- Speech still sounds natural after cuts
- Optional speed change kept modest and pitch-preserving
- Loudness checked with phone speakers in mind
- Music usage rights considered before publishing
- WAV master saved; delivery encode left to the video tool/platform
FAQ
Frequently asked questions
What length should TikTok or Reels audio be?
Match the video cut you will post. Many strong clips land between roughly 7 and 30 seconds, but pacing and hook strength matter more than hitting a specific number.
Should I speed up my voiceover for social?
Only if the delivery truly drags. Trim stalls first. If you still need tempo help, use a mild pitch-preserving speed increase and re-check clarity.
What format should I export for CapCut or similar apps?
WAV is a safe edit format. Let the video app and platform handle the final compressed output.
Why does my audio sound fine in headphones but weak in the app preview?
Phone speakers and platform preview chains reveal quiet opens and harsh peaks. Raise clarity carefully and test on the phone speaker.
Can I use any song if I trimmed it myself?
Trimming does not grant publishing rights. Use audio you own, properly licensed music, or the platform’s licensed library when posting.
Should I prepare separate audio for TikTok and Reels?
Usually one strong WAV master is enough. Let each app handle final encode; only split masters if pacing or music rights differ by platform.